- Published on
Getting started with WiX and Major Upgrades!
- Authors
-
-

- Name
- David Mohundro
- Bluesky
- @david.mohundro.com
-
WiX Setup
I’ve been doing some work with MSIs lately, specifically using the WiX toolkit, so I thought I’d share a short primer on using WiX to build your own MSIs, and also to share some links and some tricks to avoid some pitfalls that I ran into.
First off, WiX stands for Windows Installer XML and, from what I understand, is the first Microsoft-supported open source project. Not only that, but it is the way that Microsoft builds their MSIs, too, so it is pretty significant.
To get started, I wouldn’t even bother with the release version of 2.0. The real fun is in version 3.0, which, even though it is in beta, is plenty stable (IMHO) and supports Visual Studio with a project template and intellisense support via schema files. It also makes the building step a lot easier.
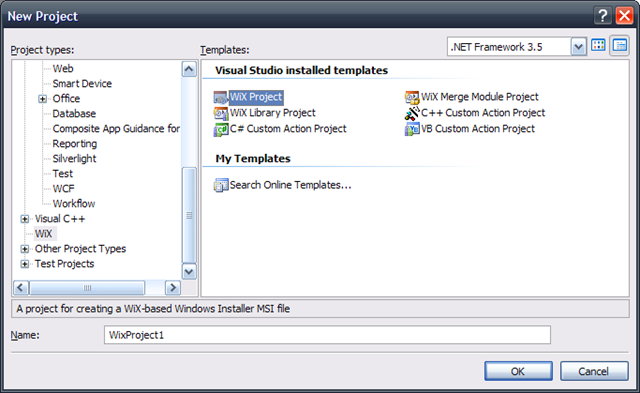
My First WiX Project
Once you start your project, you’re presented with a WXS file pre-filled with a few initial options that looks like this:
<?xml version="1.0" encoding="UTF-8"?><Wix xmlns="http://schemas.microsoft.com/wix/2006/wi">    <Product Id="de9157d6-2fbf-4c16-9d28-77f790788b28" Name="WixProject1" Language="1033" Version="1.0.0.0" Manufacturer="WixProject1" UpgradeCode="f5614cd8-aa70-4bc4-948b-208b34e16a6d">        <Package InstallerVersion="200" Compressed="yes" />
        <Media Id="1" Cabinet="media1.cab" EmbedCab="yes" />
        <Directory Id="TARGETDIR" Name="SourceDir">            <Directory Id="ProgramFilesFolder">                <Directory Id="INSTALLLOCATION" Name="WixProject1">                    <!-- TODO: Remove the comments around this Component element and the ComponentRef below in order to add resources to this installer. -->                    <!-- <Component Id="ProductComponent" Guid="95758d74-281c-4eee-84ce-4fda6ad60557"> -->                        <!-- TODO: Insert files, registry keys, and other resources here. -->                    <!-- </Component> -->                </Directory>            </Directory>        </Directory>
        <Feature Id="ProductFeature" Title="WixProject1" Level="1">            <!-- TODO: Remove the comments around this ComponentRef element and the Component above in order to add resources to this installer. -->            <!-- <ComponentRef Id="ProductComponent" /> -->        </Feature>    </Product></Wix>
It has most of the things that you’ll be interested in.
The Product element is likely the most important element as it defines the
application that your MSI will install. You’ll notice that WiX is built around
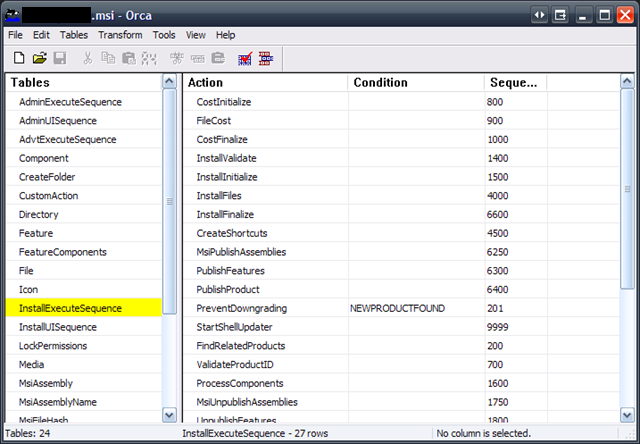
a lot of Guids. MSIs, or Windows Installer actually, is built around tables.
Using the orca tool that ships with the Windows
SDK, you can actually
see these tables for any MSI. (FYI, you’ll find your Product Id Guid if you
look under \\HKLM\SOFTWARE\Microsoft\Windows\CurrentVersion\Uninstall\ after
installation.)
You Can Refactor WiX, Too
Before going further with your WiX file, I would strongly recommend refactoring some of the Guids and common strings out into variables like so:
<Wix xmlns="http://schemas.microsoft.com/wix/2006/wi">  <?define ProductName = "WixProject1"?>  <?define ProductCode = "de9157d6-2fbf-4c16-9d28-77f790788b28"?>  <?define UpgradeCode = "f5614cd8-aa70-4bc4-948b-208b34e16a6d"?>  <?define ProductVersion = "1.0.0.0"?>
  <Product Id="$(var.ProductCode)"           Name="$(var.ProductName)"           Language="1033"           Version="$(var.ProductVersion)"           Manufacturer="WixProject1"           UpgradeCode="$(var.UpgradeCode)">
Doing this can help you greatly later when you’re trying to figure out which
Guid goes where or what the Guid is actually for. The rest of the process of
building your WiX file involves mapping out your dependencies. The project
template by default already creates Directory elements pointing to the
ProgramFilesFolder constant (see
http://msdn.microsoft.com/en-us/library/aa370905(VS.85).aspx#system_folder_properties
for the other system folder constants). The Component tag resolves to what I
think of as a separate installable component. Components go together to form a
Feature (think Complete versus Custom installs) so you’ll refer to your
Component (by Id) in the Feature element using a ComponentRef element. The
template has this commented out, but it shows how this would work. I’ll defer
to the WiX Tutorial for specific examples
here.
To build your MSI, you just have to do a Visual Studio build because you followed my instructions and installed beta 3.0, which comes with Visual Studio integration! Behind the scenes, though, all the build does is call out to candle.exe passing in your WXS file which results in a wixobj file. Then it calls out to light.exe passing in the wixobj file which results in an MSI. (WiX is pronounced like “wicks” - that should help you get the candle and light jokes… WiX also includes tools like dark, torch, votive, smoke, melt… :-))
Upgrading!
Up to this point, I didn’t really run into any problems with building my MSI. The online resources were fairly good at getting me started. What I wanted was for my MSI to be able to remove existing versions of my software before installing its version. MSIs support three types of upgrades: small update, minor upgrade, and major upgrades. I’d recommend skipping directly to major upgrade. From what I’ve seen so far, the other two options require additional command line arguments to msiexec to actually perform the removal of a prior install of your product.
To get a major upgrade to work, the most important thing you’ll need is your
UpgradeCode. This is an attribute off of your Product element tag. Always store
that off, regardless of whether or not you plan on allowing upgrades. As soon
as you decide you don’t need to upgrade, you’ll want to upgrade. If you don’t
have an UpgradeCode, you can’t upgrade.
You’ll use your UpgradeCode in an Upgrade tag like so:
<Upgrade Id='$(var.UpgradeCode)'> <UpgradeVersion Minimum='$(var.ProductVersion)' IncludeMinimum='no' OnlyDetect='yes' Property='NEWPRODUCTFOUND' /> <UpgradeVersion Minimum='$(var.RTMProductVersion)' IncludeMinimum='yes' Maximum='$(var.ProductVersion)' IncludeMaximum='no' Property='UPGRADEFOUND' /></Upgrade>Notice how I’m using my predefined variables. Makes it easier, eh? I’ve also
added an additional variable defined as RTMProductVersion. This is the version
of my installed application that I am upgrading from. UpgradeVersion tags work
like ranges. So, for the UPGRADEFOUND to match, the installed application has
to match inclusive RTMProductVersion (inclusive because of
IncludeMinimum=‘yes’) up to exclusive ProductVersion, which is the new version
we’re about to install.
Now, changing the version isn’t enough for a major upgrade to work. You also
need to change your ProductCode. This is what I continued to miss and why I was
getting so frustrated with WiX. Now that I know what it should do (and what to
search for), I’m finding plenty of WiX articles on how to do major upgrades!
The reasoning for this is because major upgrades only work between two
completely different products (think of Visual Studio 2005 and Visual Studio
2008 as having two different ProductCodes). These two products can run
side-by-side, hence the different Guids for their product code. These
applications allow side-by-side execution so they’re not specifying the removal
of the old software, but they certainly could. MSDN has a good article on
everything that you’ll need to check before getting an MSI ready for a major
upgrade.
Once you have a new version and a new product code, you’ll need to actually
tell the MSI to remove the existing version. To do this, you’ll add a
RemoveExistingProducts element to an InstallExecuteSequence. Like this:
<InstallExecuteSequence>  <Custom Action='PreventDowngrading'          After='FindRelatedProducts'>NEWPRODUCTFOUND</Custom>  <RemoveExistingProducts After='InstallFinalize' /></InstallExecuteSequence>
<InstallUISequence>  <Custom Action='PreventDowngrading'          After='FindRelatedProducts'>NEWPRODUCTFOUND</Custom></InstallUISequence>
<CustomAction Id='PreventDowngrading'              Error='Newer version already installed' />
In my example, I’ve told RemoveExistingProducts to run after the
InstallFinalize action, but this is customizable and can have an impact on
the efficiency of your
installer.
Once I set my WiX project up like this, it worked like a charm.
There are two resources that are essential for getting up to speed with WiX that I’d like to share. One is the WiX Tutorial. I’m probably using about a 10th of the content posted there. Second is Alex Shevchuk’s “From MSI to WiX” articles, particularly his post on major upgrades, which was invaluable to me.